Moving & Repair Guides
Moving Your Pool Table
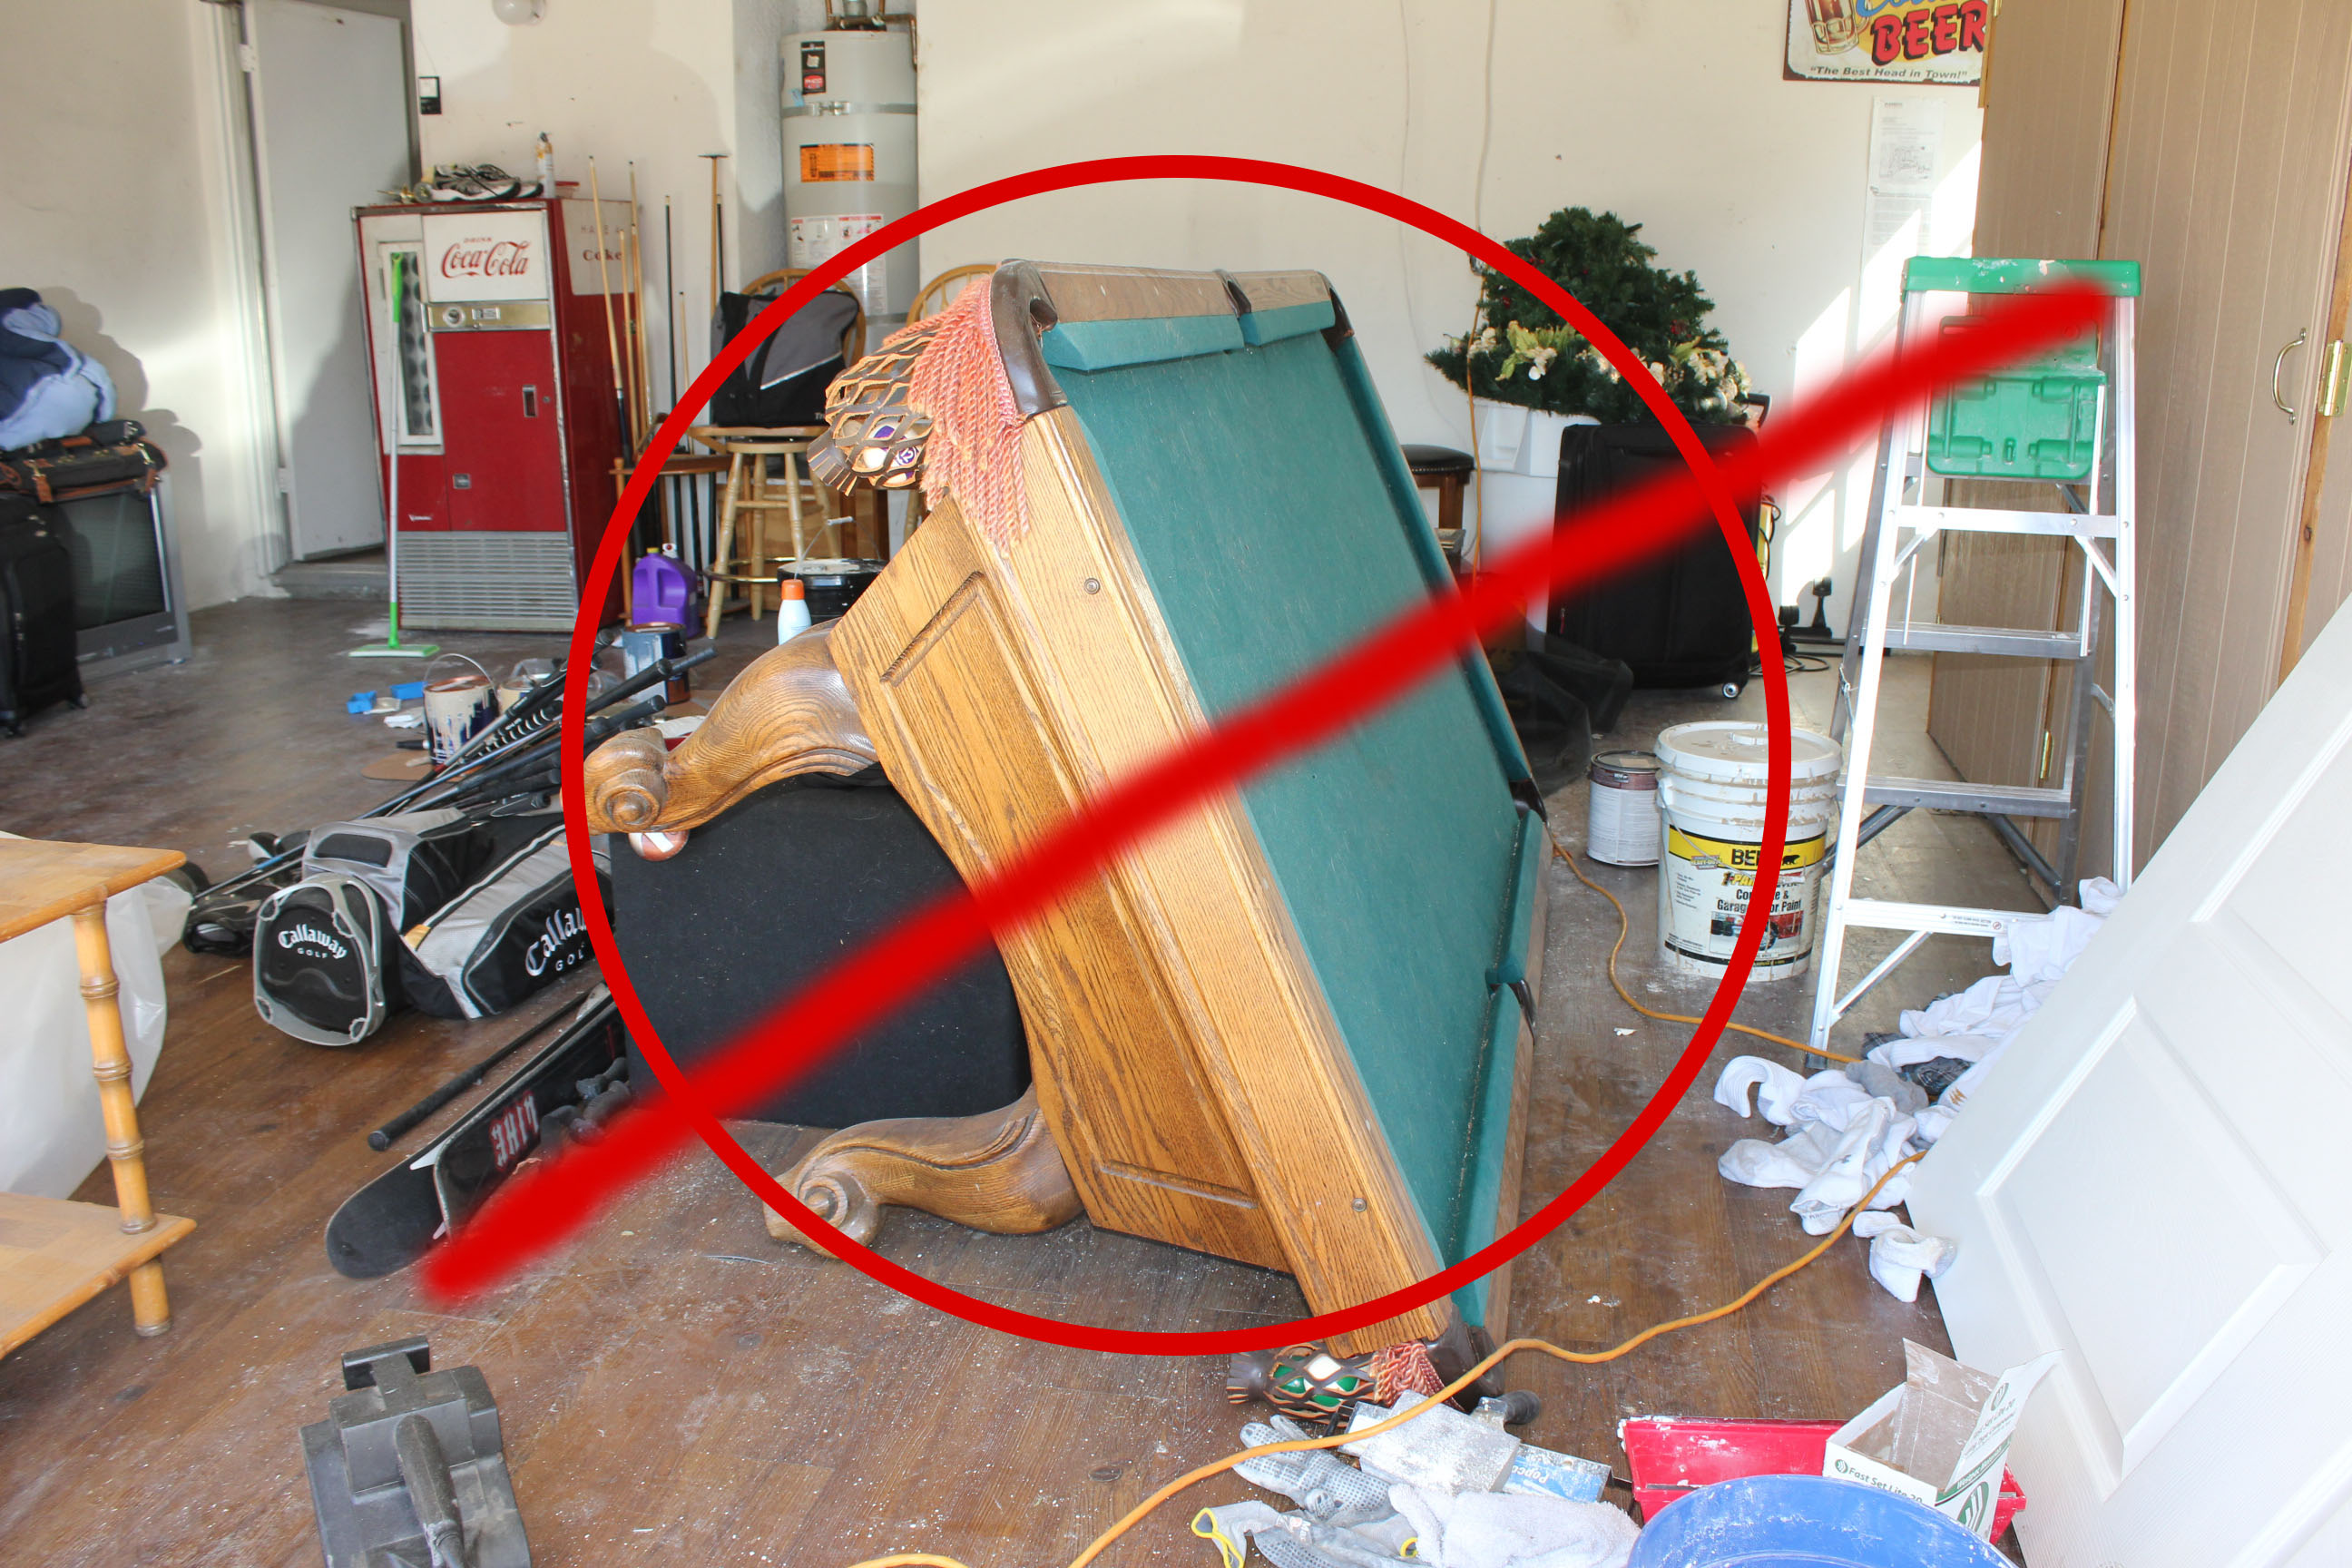
Moving a pool table is not easy task. Calling up the boys for an afternoon of moving your table to the truck is not as simple as it seems. There are specific steps that go into the table move.
Working with billiard tables for over 25 years, I have seen it all, and its not pretty. Broken floors, bones and tables are likely to occur if you don’t know what your doing.
If unsure at all, give Dak Mak Billiards a call. We are more than happy to assist you on your pool table move.
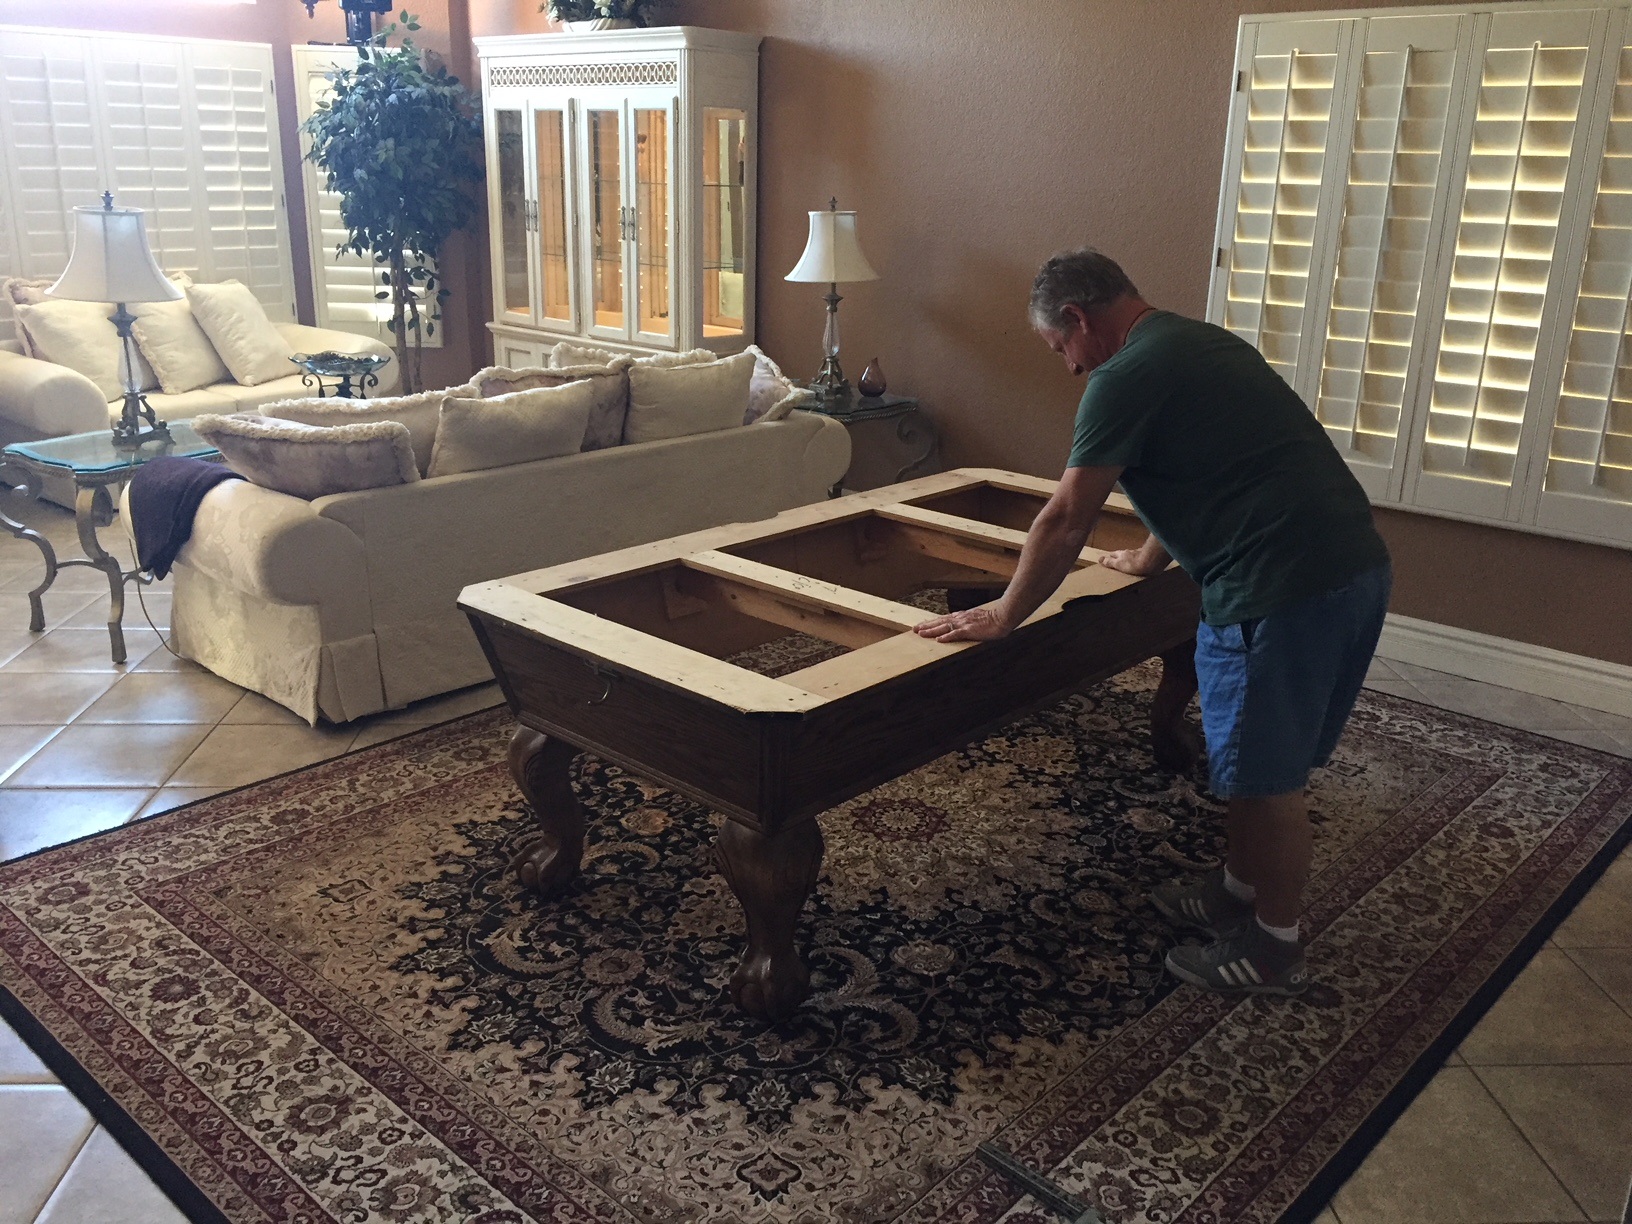
Stage One
Placing the Frame in the best spot for the room
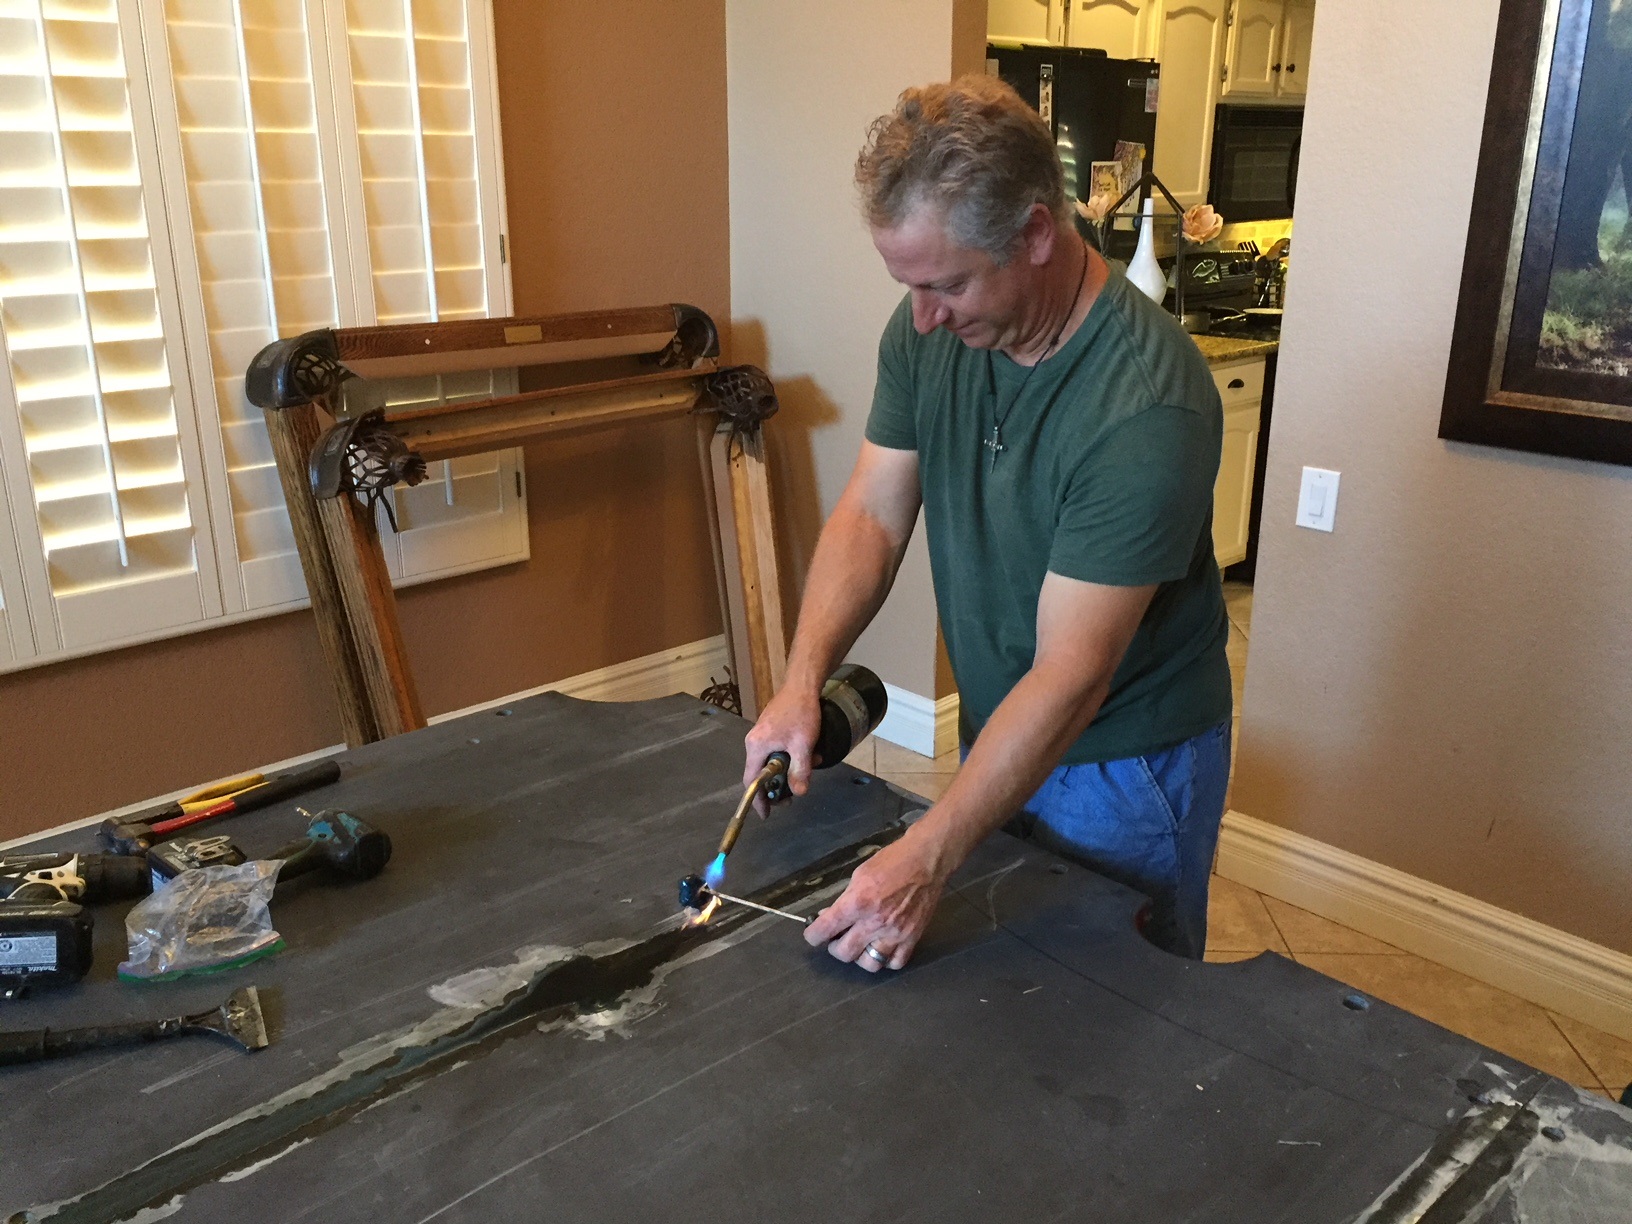
Stage Two
Sealing the seams after the slate have been shimmed and level
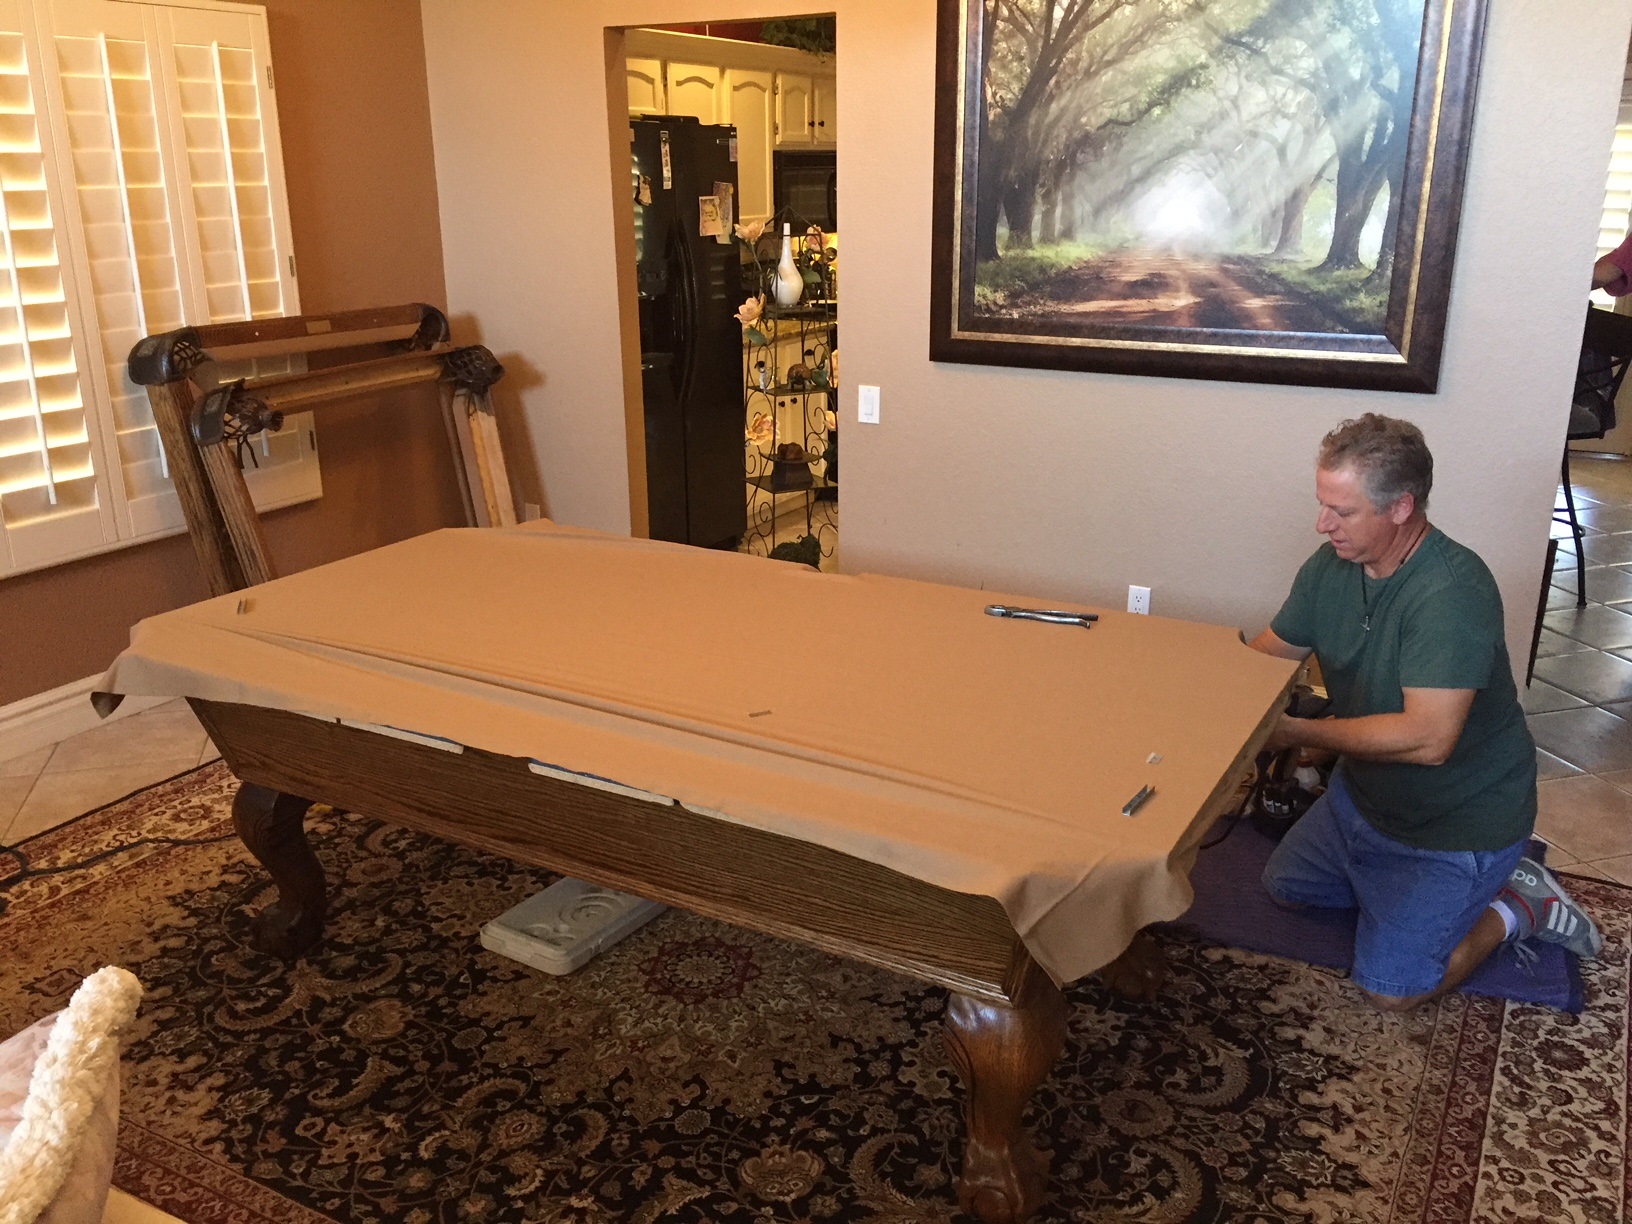
Stage Three
Stretching the cloth
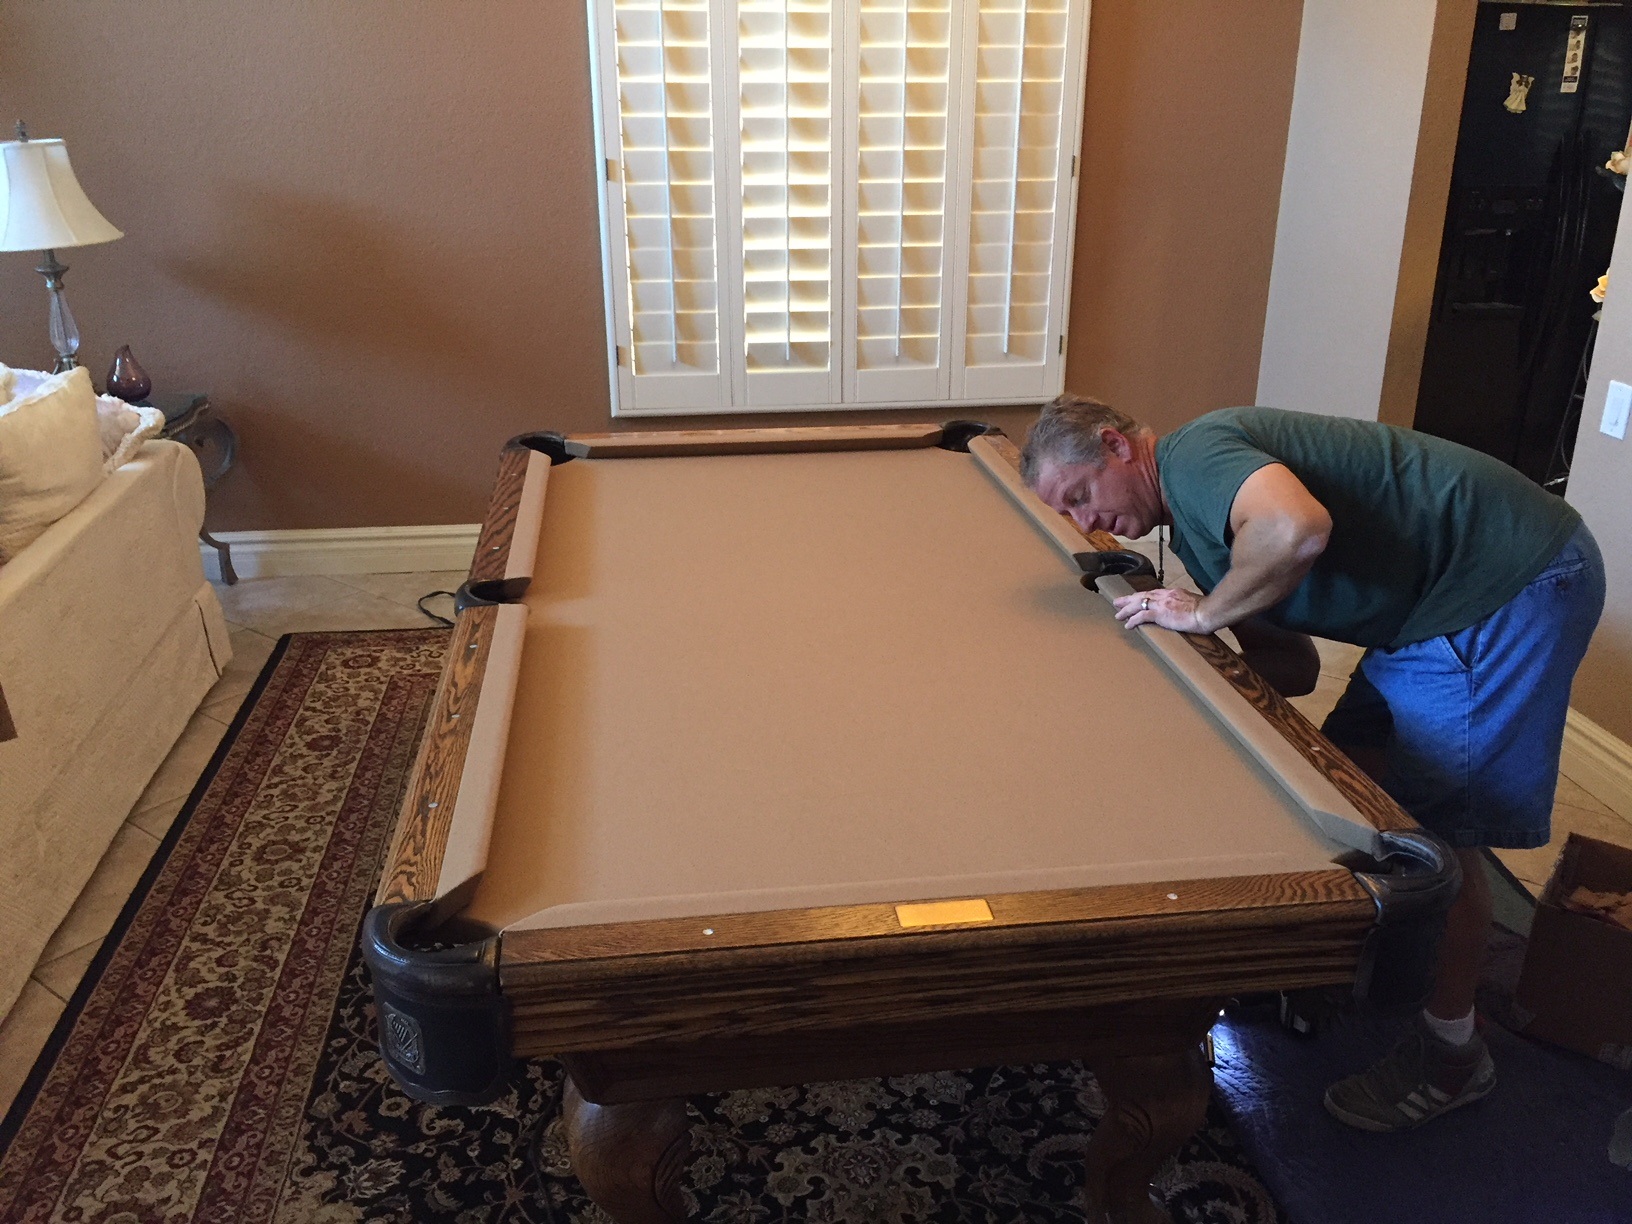
Stage Four
Bolting down the rails and finishing touches.
Below are two guides for disassembling and reassembling your pool table. We suggest getting a professional.
Detailed step by step process of how to disassemble a pool table for moving.
To move a pool table and how it is disassembled first depends on the type of table you are moving. There are many different designs and styles from commercial tables, to non-slate to elaborate carved masterpieces. The focus of this process is on home style three piece slate tables with leather drop pockets.
The process of disassembling a pool table.
First step is to un-staple the pockets. Leather pockets are not cheap so care is required in order not to tear. Also if the leather has not been conditioned with a leather conditioner the pockets may be hard, dry and want to break
Next unbolt the rails which are typically 18 bolts under the table, it is possible on some tables, (Connelly) that there is 24 and others some Buckhorn and Beach tables and others up to 30. This will loosen the top rails so that they can be lifted off usually by 2 people in what we call the horseshoes. (Three rails connected by the pockets at one end and the other three rails connect by the pockets at the other end of the table. If the table going to transported a great distance or are going to recover, the pocket bolts (10 of them) will have to be removed which will result in 6 individual rails and 6 pockets.
Now the table is setting with just the cloth (felt (slang term)) on it. If you want to re-use the cloth each staple should be pulled individually, if you are not re-using it… tear away. The point here is the cloth must be removed from the table. (it is also possible that the cloth was glued rather than stapled)
After this you should be looking at three pieces of slate that are screwed down to the frame of the table. The screws may be exposed and easy to see or depending on the table they may have been filled (covered over) with either a water putty or billiards paraffin (bees was is often used). It this is the case the wax needs to be removed (dug out) or the putty is chipped out so the screws can be removed. The screws may be #3 Phillips, #2 Phillips, straight, or 3/8 hex. There should be between 4 and 6 per each piece of slate.
Once this is accomplished each slate can be removed by lifting them off the frame by two stout people. Depending on thickness and type of slate each slate can weight from approximately 100 to 300 pounds each.
All that should be left is the frame and legs. Depending on width of doors and passage ways legs may or may not require removal. There are a variety of ways legs are attached. Most often it is either just one nut or bolt per leg.
This was the easy part, now all there that left is to move it and put it where you want and setting is up.
Feel Free to call Brent if you have questions or if you would rather we do all this for you.
West Valley:
(623) 535-5300
Central Phoenix:
(602) 494-2825
East Valley:
(480) 216-9645
The process of setting a pool table up:
First is to determine placement of the legs and frame. For cue clearance and to be able to shoot with full length cues, 60″ is required from the frame all the way around.
Next level the frame before placing the slate. This is done by placing small squares of different thicknesses of wood under each leg. If the floor is wood or tile adding a form of anti skid material under each leg and between the shims will help from the table being pushed off level and protect the floor.
Once the frame is level and ready each slate can be placed on the table, usually starting with the middle slate first in order to properly center and align the slate with the frame of the table. Make sure that there is no debris between slate and frame also remove and excess wax or putty from the previous set up.
Screw the slate back down tight to the frame. This is a dance (because of the different materials and types of woods and man made woods that tables are made from) The dance is between getting these screws extremely tight but not stripping them out. If it is a really solid hardwood or even a good plywood you should be good in going very tight, if it is an unstable wood from over-seas or press wood, maybe not so much. If you are worried on this step, another help here is to fold small pieces of construction paper (2″ x 2″ squares) in half and as you place the slates back on the table place 3 or 4 of these folded in half squares with the fold down spaced evenly in between the seams of the slates with about 1/2″ of the paper sticking out above the slate seems. This will be for super gluing the slates later, but will help the slate screws hold the slate in place avoiding seam issues.
Using a level each slate should be level and bought to the same plane at this point by using straight edge or fishing line or just the level itself. (Many mechanics have their own way of doing this) To accomplish this process each slate screw should be loosened just slightly one at a time and a wedge driven under next to the screw that was loosened. By placing wedges not next to a slate screw the chances of bowing a slate increase significantly. It is very difficult and expensive to get a bow out of a slate. Patience and experience are huge helps in this step. Also there may be still more shimming from under the legs at this point depending on flooring, the pool table frame itself, how level the frame was in the initial level… To do this lift from under the frame not from the slate. The table is heavy at this point, some mechanics do this with there legs, with there backs, pool table jacks….if you are new to this be careful!
Once the slate is level and on the same plane, if you placed the construction paper squares in between the slates now is the time to spread the paper sticking out of the slate seams and using a runny type super glue. Squirt some in the paper so that it is absorbed by the paper and will super glue the 3 slates together. Allow the glue to dry and then with a razor blade scraper, scrape off the excess paper that is sticking above the slate seams.
It is time to seal the seams with either a water putty or billiards slate paraffin or bees wax. If putty is used spread over each seam about an inch from each side of the seam. (putty should not be used if wax was used previous as there will be adherence problems.) Once the putty is dry sand til smooth and flat. If wax or paraffin is used melt the wax with a torch over the seams about an inch out from the seam wait for it to harden and scrape off excess. If the slate screws will be in the play surface fill these also and do the same as the slate seems. When finished check the slate entirely for any debris what so ever by running the palms of hands over the slate.
Now that you have a clean surface also check the cloth for debris. There is an up and down side to the cloth, so make sure which is which. Keep it the same if you are reinstalling the cloth and it is normally folded in if purchased new. Spread the cloth out over the slate of the table.
Stretching the cloth is done in many ways… Some mechanics stretch end to end first and some mechanics stretch side to side first and yet some corner to corner… Even different cloth companies also have different directions. (To big big of a topic for this form) But basically stretch the cloth into the pockets as tight as you can. Then pull and stretch the rest stapling as you go. Once this is completely stretched and pockets are stretched in trim off the excess hanging around the sides. If the slate does not have a wood backing the cloth will require gluing. Use a 3M spray adhesive instead of staples.
With the cloth completely stretched were the bolts for the rails will come up through the slate around the edge cut the cloth in each hole for each bolt all the way around. Place the horse shoes (the three rails attached together as described in the disassemble), insert and start the rail bolts. (do not tighten yet) Once all bolts are started, align the rails and tighten.
Last step is to staple up the pockets.
Congratulations you can now play!
There are many many tricks to use and pitfalls to avoid when moving a pool table table. As I wrote this, each step has all sorts of (“but what if it is this type of table?”) moments and it is not possible to cover all the possible scenarios. It would be super easy if all tables were made the same, but just as with cars, refrigerators, TVs… almost anything they are made different with different materials and nothing can be a substitute for experience.
